Recent Posts
Dual-Channel Linear Actuator Control Module with ESP32
Posted by on
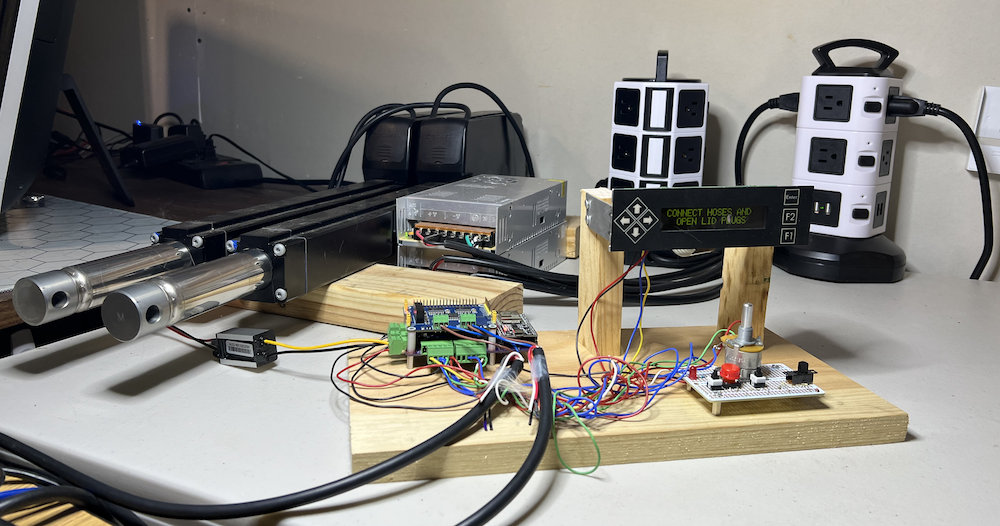
As part of a customer project, I, with the help of a capable hardware designer, developed an embedded system to control two linear actuators, specifically the Thomson Electrac HD model with SAE J1939 interface.
The Electrac series of actuators supports two higher-layer protocols (HLP) based on Controller Area Network (CAN): CANopen, and SAE J1939. CANopen is suitable for industrial automation, while SAE J1939 supports mainly diesel engines (trucks, trains, ships, tanks, tractors, and more). You can control the actuators merely with hardware switches (Start, Stop, Forward Motion, Backward Motion), but, in addition, both CAN protocols allow for regulating the linear speed.
At first glance, CANopen appears appropriate for controlling a linear actuator in industrial applications. However, that only applies when you are already involved with CANopen, i.e., you know how to implement a CANopen protocol stack (which is not a small feat).
However, suppose your application requires mere motion control (Start, Stop, Forward Motion, Backward Motion, Speed Control). In that case, you are better off with SAE J1939 because you don’t need to install the protocol stack. The Electrac actuator supports some SAE J1939 protocol features (e.g., the address claim procedure). Still, you can ignore the protocol requirements and control the linear motion with mere CAN Bus data frames (using a 29-bit message identifier). Thus, “CAN Bus communication” describes the operation mode more accurately. The CAN/J1939 approach shortened the development cycle tremendously, so I chose SAE J1939 for this application and not CANopen.
The Control Hardware
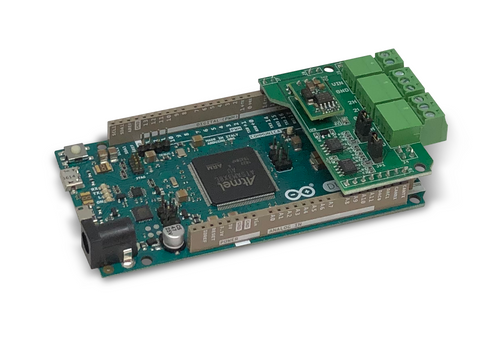
I chose the Arduino Due with a dual CAN Bus interface for the initial development. We already have extensive software libraries for CAN Bus development, and the Arduino IDE (Integrated Development Environment) provides comfortable and effective programming means.
Arduino-Based ECU Development Board With Dual CAN Bus Interface
Leverage the power of an ARM Cortex M3 32-bit processing capability in combination with a dual CAN Bus interface to create your next CAN Bus or SAE J1939 application or prototype. By combining our dual CAN port interface, the Arduino DUE microcontroller, an OBD2 or SAE J1939 cable, and open-source software libraries you are ready to go with powerful a turn-key Arduino-based dual CAN bus solution. More Information...
CAN (Controller Area Network) is a networking technology that effectively supports communication between multiple nodes. Thus, the initial thought was to connect both linear actuators within one network and assign different node addresses. However, as I discovered the hard way, connecting multiple actuators to the CAN Bus will prove fateful, especially when running the setup with a battery (as my customer does for their mobile application). Operating multiple actuators in the same network will create endless CAN/J1939 data traffic, thus effectively killing the “sleep” feature and needlessly draining the battery. Consequently, these observed (and un-documented) features required using a dual CAN port configuration. For more details, see also my post Programming the Thomson Linear Actuator - Sleep Mode.
After completing the software development process, we were ready to design the final hardware. The test hardware worked fine, but the digital (motion start, stop, etc.) and analog (speed-regulating potentiometer) signals were soldered to the CPU board. In addition, we needed a relay output as an error signal and a serial (UART) connection for an external display. Consequently, we created a new design based on our existing espBerry configuration.
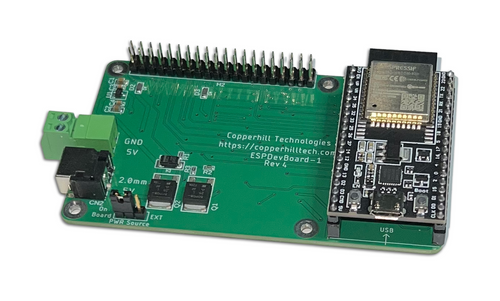
espBerry - ESP32 Development Board With Raspberry Pi GPIO
The espBerry DevBoard combines the ESP32-DevKitC development board with any Raspberry Pi HAT by connecting to the onboard RPi-compatible 40-pin GPIO header. The purpose of the espBerry should not be perceived as a Raspberry Pi alternative but as extending the ESP32’s functionality by tapping into the vast offerings of RPi HATs in the market and taking advantage of the multiple and flexible hardware options. The espBerry is the perfect solution for Internet of Things (IoT) applications, especially those requiring wireless capabilities. All open-source code samples use the popular Arduino IDE with its excellent programming capabilities. Unleash the powerful ESP32 hardware capabilities to easily connect two CAN ports to Bluetooth, BLE, WiFi, USB, etc. More Information...
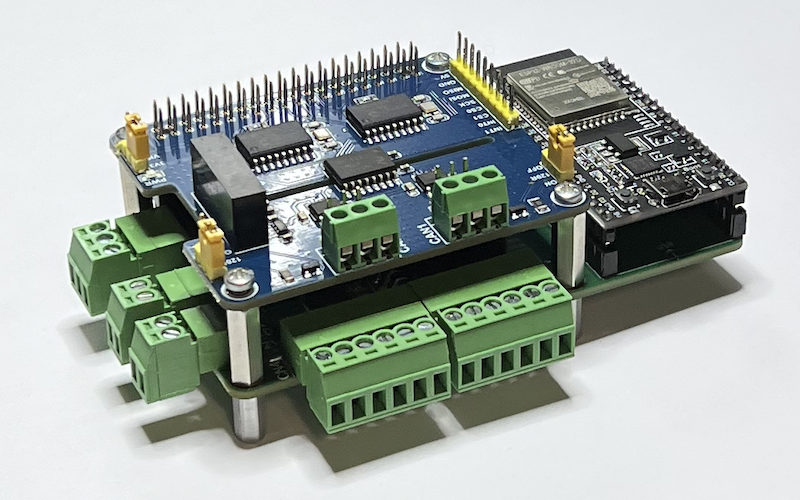
The image to the right shows the new design, i.e., the espBerry baseboard extended by input/output terminal blocks. On top of the ESP32 CPU board sits our Dual Isolated CAN Bus HAT, adding to the reliability of the entire system.
Galvanic isolation protects the CAN Bus network against destructive energy, such as ground loops and electrical line surges. See also my post Galvanically Isolated CAN Bus Transceivers Protect Networks Against Destructive Energy.
The Control Software
As I mentioned previously, the original design used the Arduino Due, but the switch to the ESP32 was extremely smooth. Both processors (the Arduino Due comes with an Atmel SAM3X8E ARM Cortex-M3 CPU) are supported by the Arduino IDE, and we were careful during the code design by avoiding too much processor-specific code. Some sections, such as timer control and CAN Bus driver, required modifications. However, as I wrote, we have a vast software library with tested code.
While this part of the transition was uneventful, the actual software development process was cumbersome and, at times, more than just frustrating. I encountered some irrational results when moving the actuators. I spent hours analyzing and testing the code only to discover that (undocumented) mechanical side effects caused these idiosyncrasies. Writing software to circumvent the actuators' irrational behavior took numerous additional hours.
Documenting all programming aspects in a single post would take too long. Nevertheless, I shared my experience and the source code in the below referenced application note.
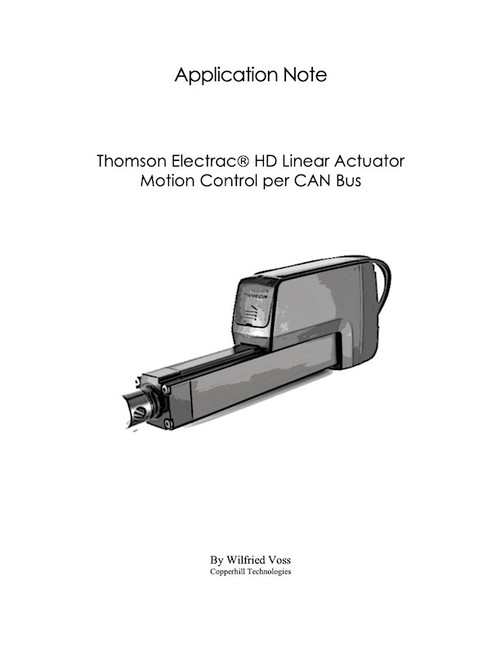
Thomson Electrac HD Linear Actuator Motion Control per CAN Bus
This application note focuses on the Thomson Electrac HD model with SAE J1939 interface. While the actuator supports the CAN Bus and SAE J1939 communication protocol, we utilize the mere CAN Bus control to keep things simple and reduce coding efforts.
The demo code demonstrates the basic motion control features, such as Start, Stop, Forward Motion, Backward Motion, and Speed Control per potentiometer. To be more precise, I will present two versions, which I tagged “basic” and “extended.” The basic version is fully functional but lacks some features for advanced operations. The extended version adds functionality, such as the detection of minimum and maximum position, and more.
I dare say that due to various undocumented eccentricities, I cannot recommend programming the Electrac per CAN/J1939 without reading this document. After all, the Electrac user manual was not written for programmers. More Information...
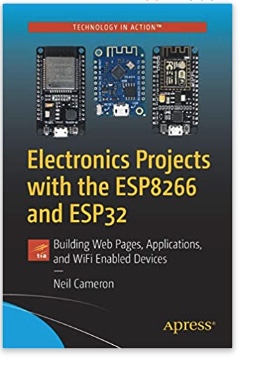 Electronics Projects with the ESP8266 and ESP32: Building Web Pages, Applications, and WiFi Enabled Devices
Copperhill Technologies highly recommends using this book for your wireless application projects. Yes, many good books and free online resources are available these days, but this is the book we are using. It made our approach to Bluetooth, BLE, and WIFI a breeze. Programming wireless applications without hassles was fun, and we will share them on this web page.
Projects throughout the book utilize the wireless functionality and processing power of the ESP microcontrollers. Projects are built in the Arduino IDE, so you don't need to download other programming software. In addition, mobile apps are now ubiquitous, making the app build projects of the book very relevant, as are the web page design projects.
In Electronics Projects with the ESP8266 and ESP32, you'll see how easy and practical it is to access information over the internet, develop web pages, build mobile apps to remotely control devices with speech recognition, or incorporate Google Maps in a GPS route tracking app.
 Loading... Please wait...

