Recent Posts
ESP32 Project: USB to Bluetooth Gateway
Posted by on
The ESP32 processor allows the integration of Wi-Fi, Bluetooth, and Bluetooth LE (BLE) for a wide range of IoT (Internet of Things) applications. Using Wi-Fi ensures connectivity within a large radius. At the same time, Bluetooth allows the user to easily detect (with low-energy beacons) a module and connect it to an Android/iOS smartphone or tablet. The board adds priceless functionality and versatility to your applications.
In this post, we will explore the development of a Bluetooth-to-USB gateway. However, the word "development" seems ridiculous when you look at that amazingly concise Arduino sketch below. Nevertheless, it proves the great potential of using the ESP32 in combination with the Arduino IDE, i.e., simple code with incredible functionality.
Hardware
For the test hardware, I used the ESP32-WROOM-32 development board. The same program also runs on our ESP32-CAN Bus Development board. As a matter of fact, we are using a more sophisticated form of that sketch in our CAN to Bluetooth gateway.
Software
Unless you have already done so, you need to install a few components before working with the ESP32 using the Arduino IDE. For more information, see:
Before I started getting my feet wet using Bluetooth, I did my research by working through numerous online resources. All these posts described working solutions, but I was glad I chose a book, Electronics Projects with the ESP8266 and ESP32, as described below.
I like that all projects are more or less isolated so that developers can focus on their specific needs. Developing my Bluetooth and BLE (Bluetooth Low Energy) applications went fast and without headaches. The Author explains the hardware aspects in detail without being overwhelming. Also helpful are the numerous references to testing tools.
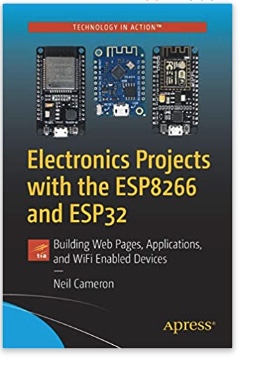 Electronics Projects with the ESP8266 and ESP32: Building Web Pages, Applications, and WiFi Enabled Devices
Copperhill Technologies highly recommends using this book for your wireless application projects. Yes, many good books and free online resources are available these days, but this is the book we are using. It made our approach to Bluetooth, BLE, and WIFI a breeze. Programming wireless applications without hassles was fun, and we will share them on this web page.
Projects throughout the book utilize the wireless functionality and processing power of the ESP microcontrollers. Projects are built in the Arduino IDE, so you don't need to download other programming software. In addition, mobile apps are now ubiquitous, making the app build projects of the book very relevant, as are the web page design projects.
In Electronics Projects with the ESP8266 and ESP32, you'll see how easy and practical it is to access information over the internet, develop web pages, build mobile apps to remotely control devices with speech recognition, or incorporate Google Maps in a GPS route tracking app. More Information...
The original code for the Bluetooth to USB gateway application is available at:
I took, however, the liberty of optimizing the code and thus increasing the performance (i.e., transmission time between the two ports).
The image below shows the optimized sketch. It is so short that I didn't even bother putting it up for download.
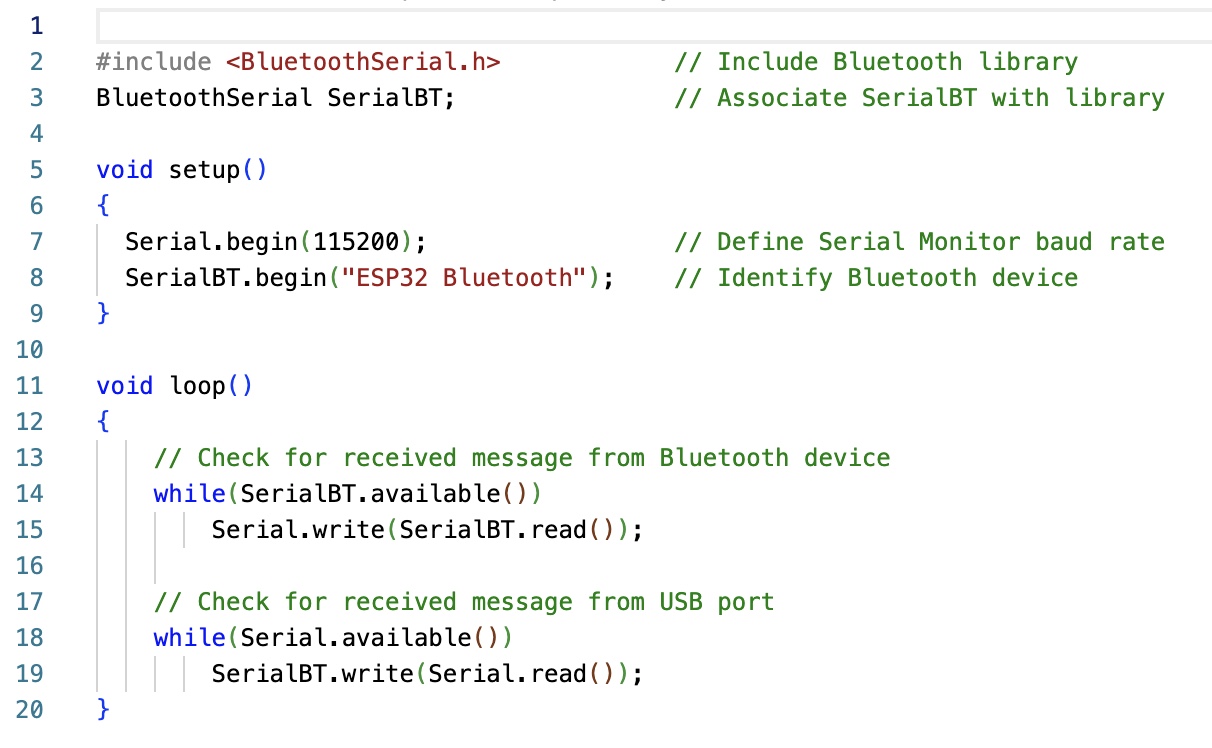
In short, the program reads the serial data from one port and passes it to the other. Before I continue, let me add some references on how to connect to Bluetooth:
Connecting Bluetooth to a Windows PC
Connecting Bluetooth to an Android Device
Testing under Windows
First of all, after pairing the ESP32 with Windows, you need to determine the associated port number. The following screen shot shows my Windows 10 machine's Bluetooth section:
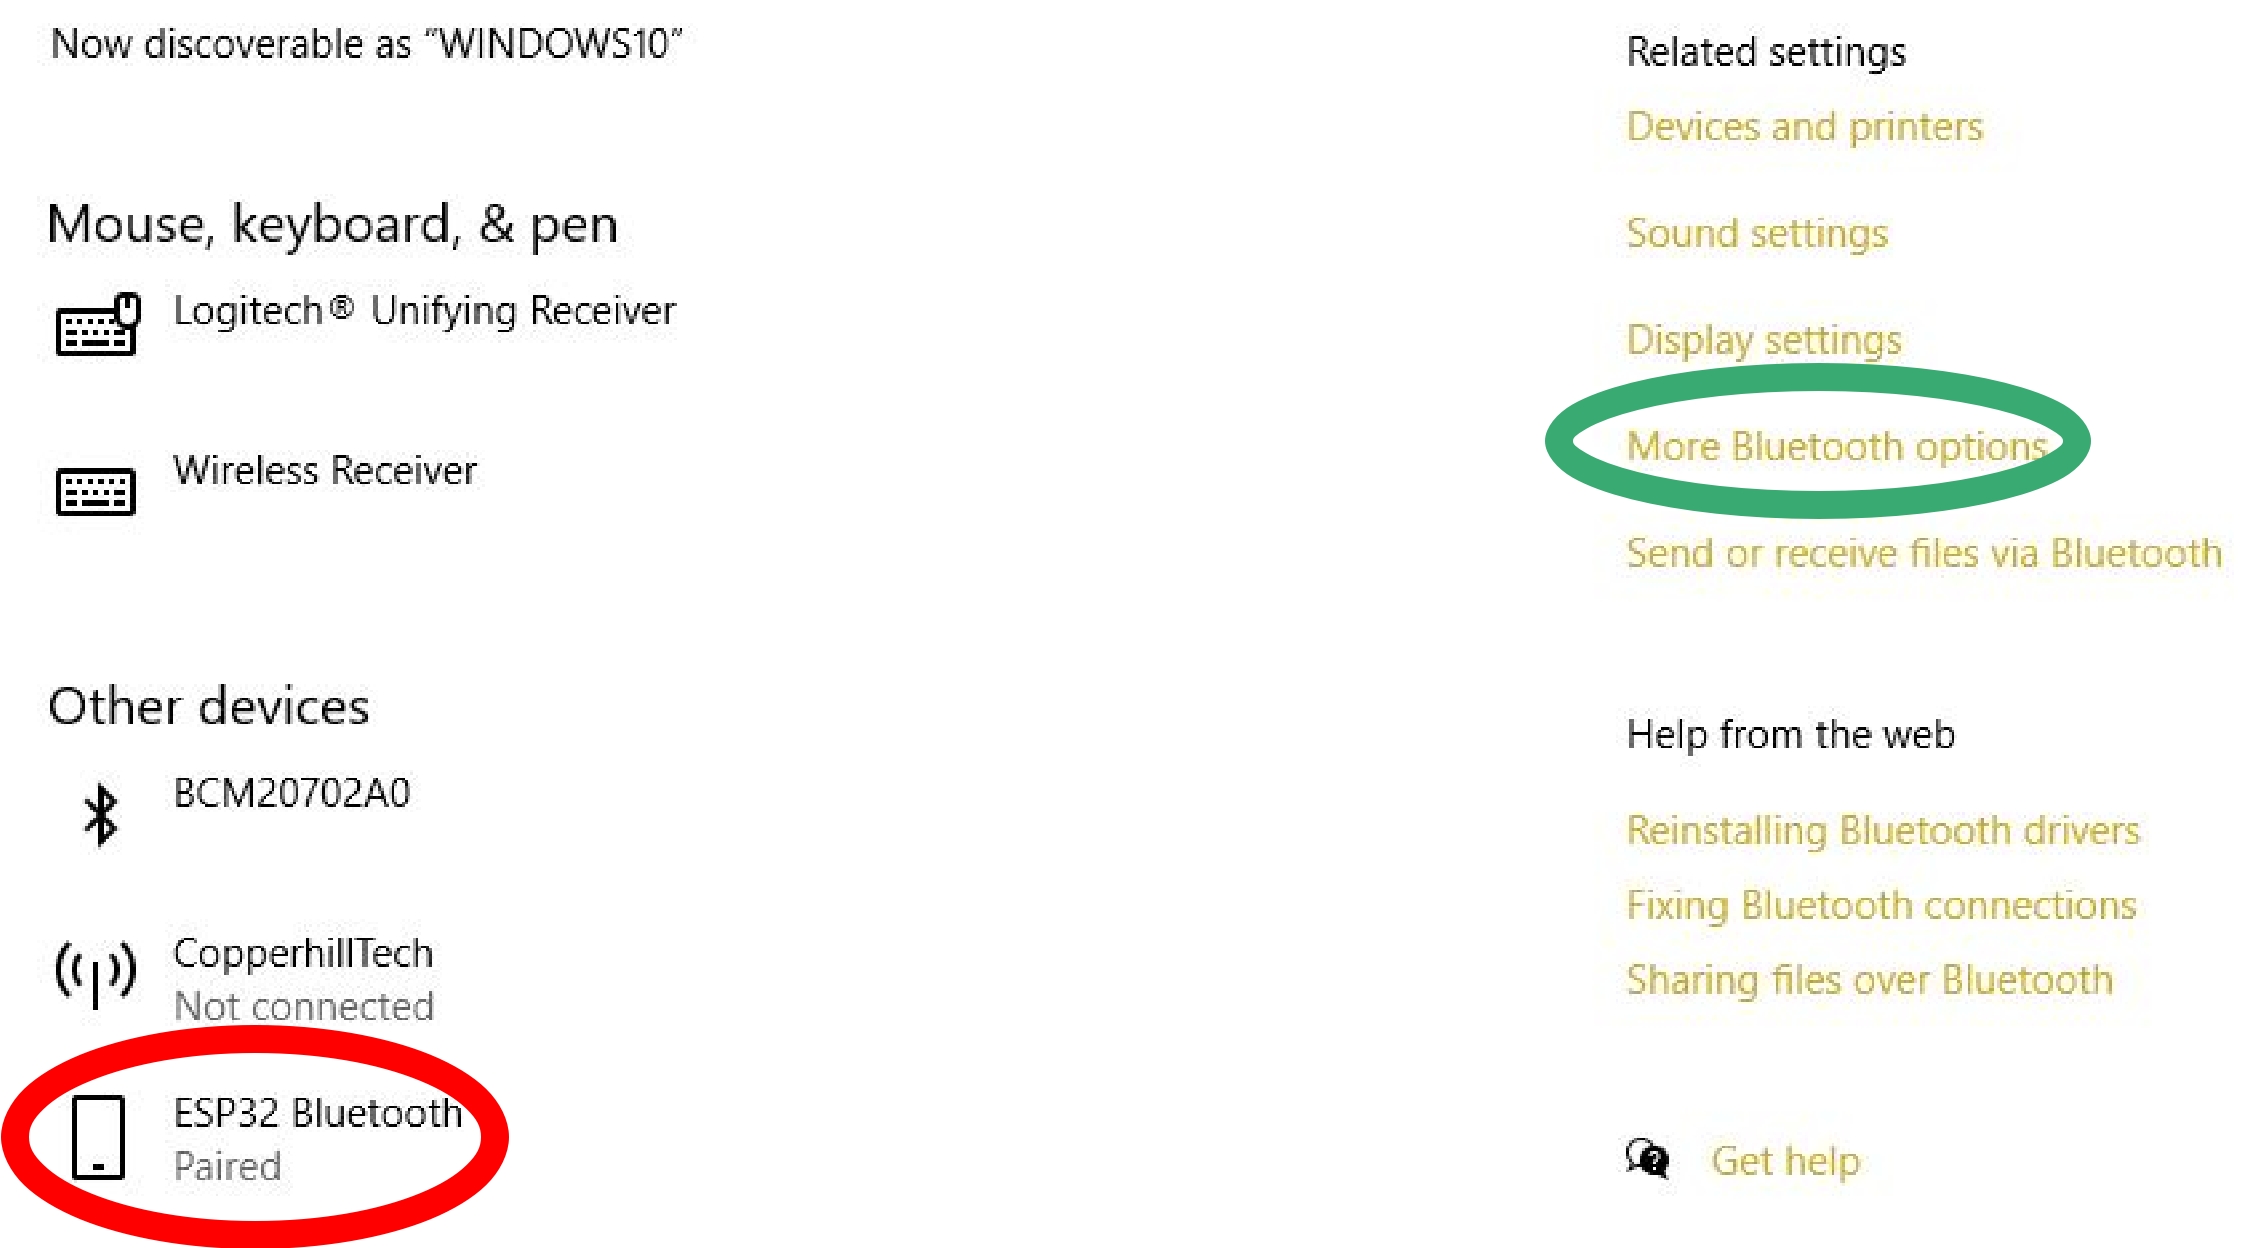
The paired ESP32 Bluetooth connection is marked in red. In order to determine the COM port number, click on "More Bluetooth options (marked in green.
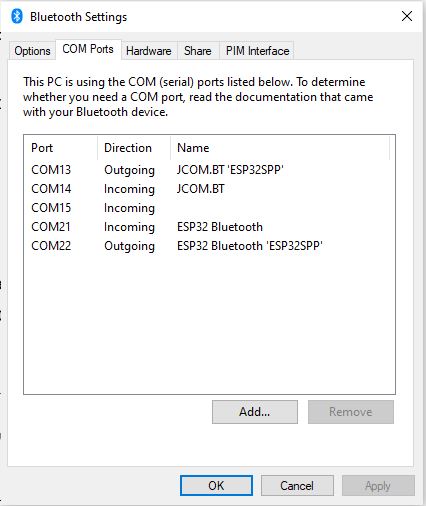
Under the COM Ports section, you will find some entries similar to my setup. Have a look at the Outgoing port associated with the ESP32 Bluetooth device ID. In the above example, the COM port number is 22.
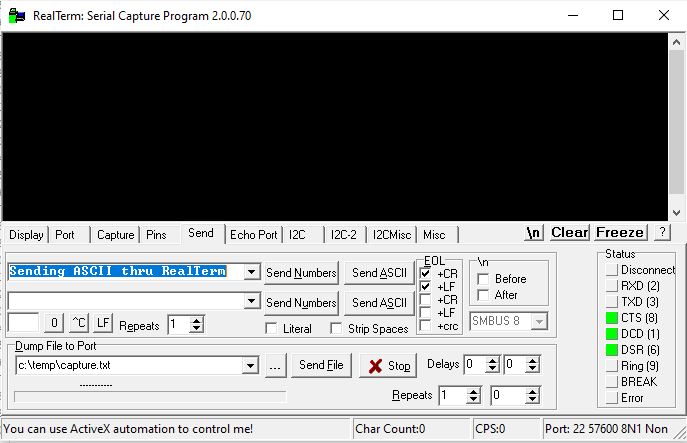
In the following, we 'll use the Arduino IDE Serial Monitor to display the information received by the ESP32 board. On the Windows PC side, I am using RealTerm, a free terminal software. In the RealTerm software, I set the port number to 22. Under the Send tab, I entered a sample ASCII string and clicked on "Send ASCII":
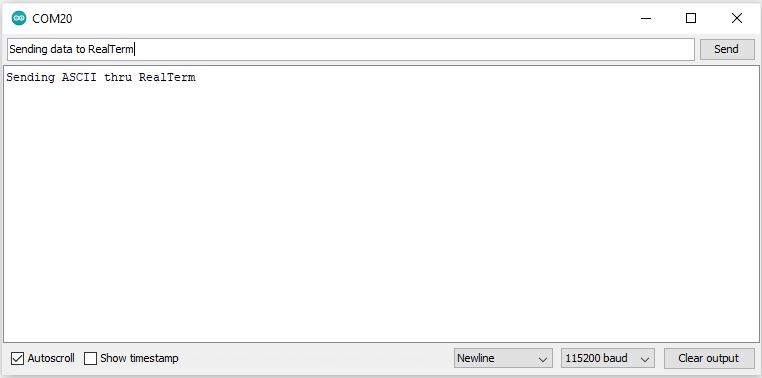
The Arduino Serial Monitor displays the data as received:
In the Serial Monitor, I entered another ASCII string and hit "Send":
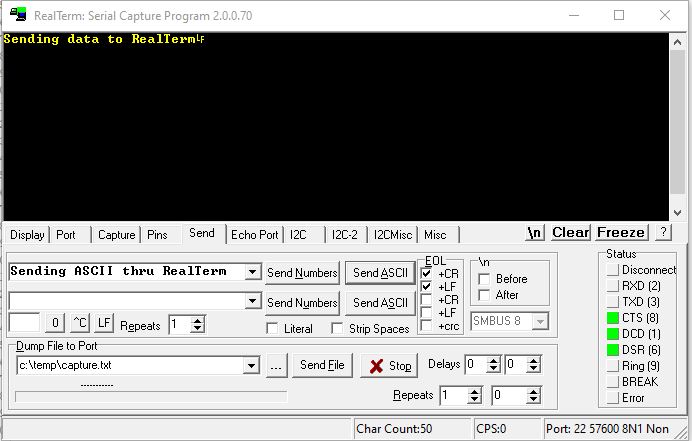
This sequence successfully tests the connection, and now you can go ahead and add more code.
In the meantime, I will follow up with a similar application based on BLE.
 Loading... Please wait...

