- Home
- Documentation
- Testing the DUE CAN Shield
Testing the DUE CAN Shield
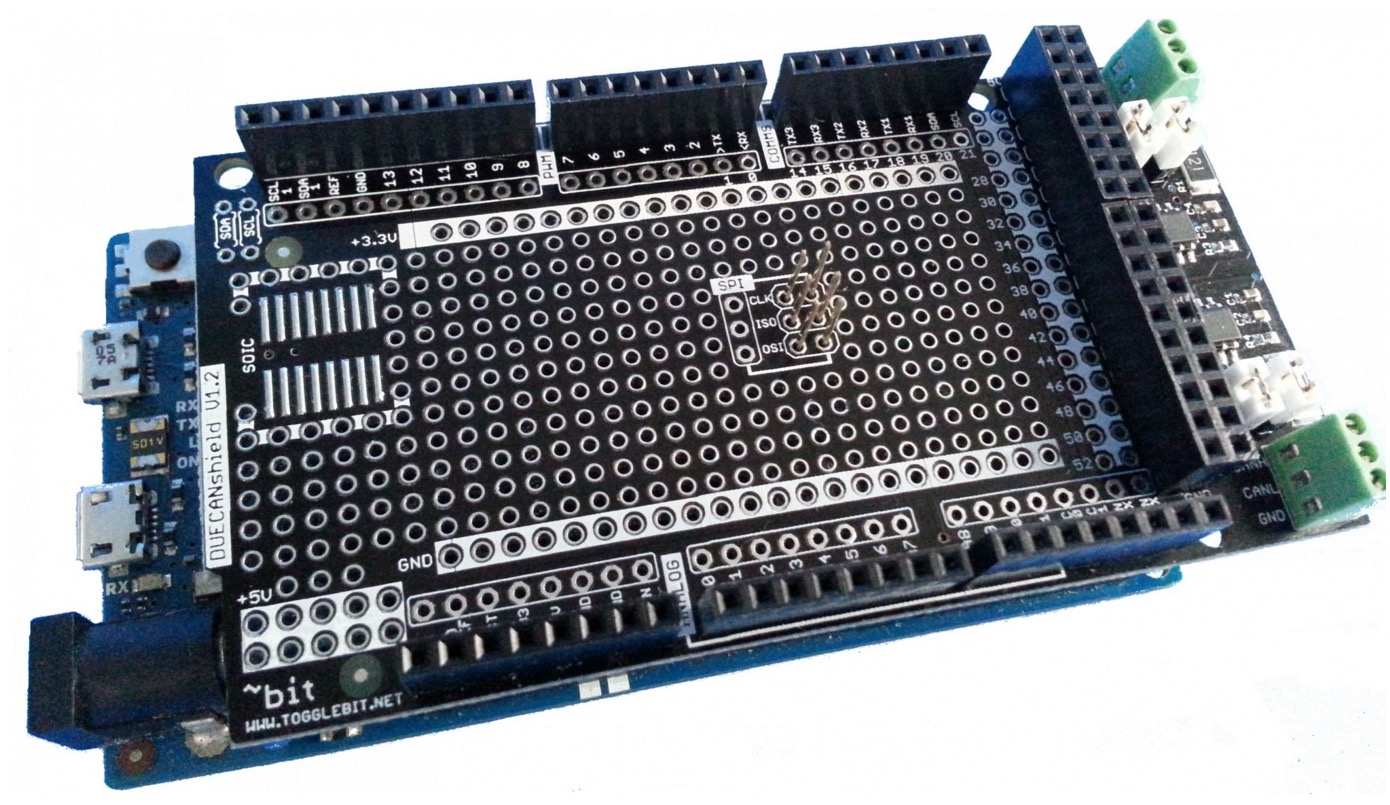
The intention of this tutorial is to provide a quick method for testing the Arduino DUE CAN shield kit.

Step 1: Wire it
Wire the two CAN ports on the shield together: CANH -> CANH, CANL -> CANL to create a loopback. Install at least one of the jumpers on the termination resistors, two to be technically correct. A CAN bus should be terminated at both ends by 120 Ohm resistors. These are already on the shield, and you just need to add the jumpers.
Step 2: Download the Software
Download the latest Togglebit DUE CAN libraries following the instructions in our document:
- ODB2 and CAN Acquisition Libraries
Unzip and place the entire CAN folder into the “C:\Program Files (x86)\Arduino\libraries\CAN” folder (see our posting about IDE versions here if you are on an older version). Plug in the USB on the DUE programming port not the native port (flip DUE over to read labels).
Step 3: Start Programming
Open the IDE and go to File->Examples->CAN and select “CAN_BoardTest.ino”. Or navigate to find the “CAN_BoardTest.ino” and open it; the IDE may ask you to relocate the file into a new folder, click ok. You’ll need to have the DUE drivers installed and there is a tutorial on the arduino due website here. Make sure you have selected the proper board and port selected from Tools->Board->Arduino DUE Programming Port and Port->COMxx. Now click upload button, it will verify and upload the code to the DUE. Once completed go to Tools->Serial Monitor and make sure the baud rate is 115K.
Step 4: Check Serial Monitor Messages
The board should be running a self test at this point with CAN 1 sending data to CAN 0 and vice-versa (see code for more details). Watch the serial monitor for the following messages. NOTE: the first test will likely result in a failed message, wait for the second message to appear to get a valid test result, the test will repeat every 2 seconds.
A successful test looks like this:
///////////////////////////////////////////////////////////////////////////////
CAN0 is Receiving Data from CAN1,
CAN1 is Receiving Data from CAN0,
The CAN shield has passed construciton testing!
A failed test will look like this:
///////////////////////////////////////////////////////////////////////////////
The CAN shield has failed construciton testing. Here are some things to check:
- remove all loopback jumpers
- install jumper on at least one termination resistor
- make sure wiring is CAN0 H -> CAN1 H, CAN0 L -> CAN1 L, GND -> GND
- make sure the shield header pins are is properly seated on the Arduino DUE and also see www.togglebit.net notes on SPI header
- see www.togglebit.net for minimum number of headers to be installed on shield
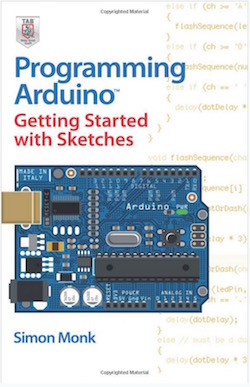
Programming Arduino Getting Started with Sketches
by Simon Monk
 Clear, easy-to-follow examples show you how to program Arduino with ease! "Programming Arduino: Getting Started with Sketches" helps you understand the software side of Arduino and explains how to write well-crafted Sketches (the name given to Arduino programs) using the C language of Arduino. This practical guide offers an unintimidating, concise approach for non-programmers that will get you up and running right away.
Programming Arduino: Getting Started with Sketches explains basic concepts and syntax of C with simple language and clear examples designed for absolute beginners - no prior knowledge of programming is required. It leads you from basic through to advanced C programming concepts and features dozens of specific examples that illustrate concepts and can be used as-is or modified to suit your purposes.
- All code from the book is available for download.
- Helps you develop working Sketches quickly.
Coverage includes: C Language Basics; Functions; Arrays, Strings; Input / Output; Standard Library Goodies; Storage; LCD Displays; Programming for the Web; Program Design; C++ and Library Writing
 Loading... Please wait...

