Blog
Recent Posts
Introduction to ESP32 UART Programming
Posted by on
 1. Introduction
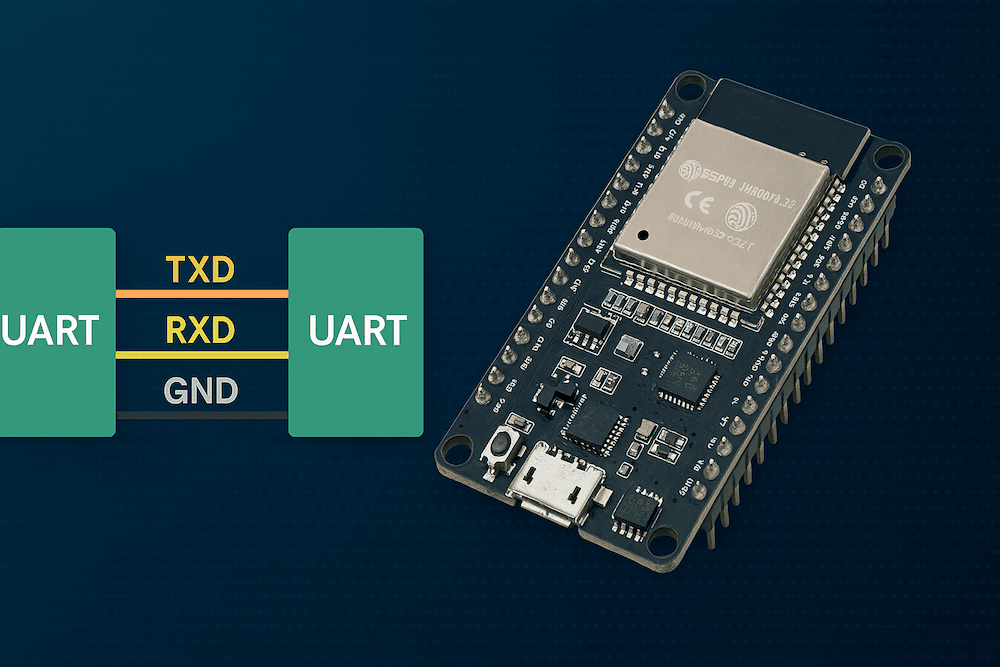
The ESP32 is a powerful and versatile microcontroller with built-in Wi-Fi and Bluetooth capabilities. It includes multiple hardware serial ports, allowing for UART (Universal Asynchronous Receiver/Transmitter) communication. This report details how to utilize the ESP32 UART interface for reliable serial communication, using both the native ESP-IDF framework and the Arduino IDE.
2. Overview of UART
UART is a hardware communication protocol that uses asynchronous serial communication. It requires two lines: TX (transmit) and RX (receive). Baud rate, parity, stop bits, and data bits are parameters that must match between the communicating devices.
UART Parameters:
- Baud Rate: Speed of communication (e.g., 9600, 115200 bps)
- Data Bits: Typically 8 bits
- Parity: None, Even, or Odd
- Stop Bits: Usually 1 or 2
3. ESP32 UART Hardware
The ESP32 has three UART interfaces:
- UART0
- UART1
- UART2
Each UART is mapped to specific default GPIOs but can be reassigned through software (a feature known as GPIO matrix).
| UART | Default TX | Default RX |
|---|---|---|
| UART0 | GPIO1 | GPIO3 |
| UART1 | GPIO10 | GPIO9 |
| UART2 | GPIO17 | GPIO16 |
Note: UART0 is typically used for flashing and debugging.
4. UART Pins on ESP32
ESP32's UART signals can be routed to almost any GPIO via the GPIO matrix, giving flexibility in hardware design. Example:
uart_set_pin(UART_NUM_1, TXD_PIN, RXD_PIN, RTS_PIN, CTS_PIN);5. Configuring UART in ESP-IDF
Steps:
- Initialize UART configuration structure.
- Set UART parameters (baud rate, stop bits, etc.).
- Assign UART pins.
- Install UART driver.
Example Code:
#include "driver/uart.h"

#define EX_UART_NUM UART_NUM_1
#define BUF_SIZE (1024)

void init_uart() {
    const uart_config_t uart_config = {
        .baud_rate = 115200,
        .data_bits = UART_DATA_8_BITS,
        .parity    = UART_PARITY_DISABLE,
        .stop_bits = UART_STOP_BITS_1,
        .flow_ctrl = UART_HW_FLOWCTRL_DISABLE
    };

    uart_param_config(EX_UART_NUM, &uart_config);
    uart_set_pin(EX_UART_NUM, GPIO_NUM_17, GPIO_NUM_16, UART_PIN_NO_CHANGE, UART_PIN_NO_CHANGE);
    uart_driver_install(EX_UART_NUM, BUF_SIZE * 2, 0, 0, NULL, 0);
}
6. UART Communication using Arduino IDE
The Arduino framework simplifies UART programming:
Example:
void setup() {
  Serial.begin(115200);
  Serial2.begin(9600, SERIAL_8N1, 16, 17); // RX=16, TX=17
}

void loop() {
  if (Serial2.available()) {
    int data = Serial2.read();
    Serial.write(data);
  }
}
7. Code Examples
Sending Data:
char* data = "Hello, ESP32!";
uart_write_bytes(UART_NUM_1, data, strlen(data));
Receiving Data:
uint8_t data[BUF_SIZE];
int length = 0;
ESP_ERROR_CHECK(uart_get_buffered_data_len(UART_NUM_1, (size_t*)&length));
uart_read_bytes(UART_NUM_1, data, length, 100 / portTICK_RATE_MS);
8. UART Debugging and Best Practices
- Check Baud Rate: Ensure both devices have the same baud rate.
- Avoid Noise: Use shielding or proper layout to reduce interference.
- Use Logic Analyzers: Helpful in debugging data-level issues.
- Avoid Using UART0: If flashing/debugging and UART communication are simultaneous.
9. Diagrams
UART Communication Overview
+-----------+       TX       RX      +-----------+
|  Device A |----------------------->|  Device B |
|           |<-----------------------|           |
+-----------+       RX       TX      +-----------+
ESP32 UART Block Diagram (Simplified)
+---------+      +-----------+      +-----------+
| CPU     |<---->| FIFO Buff |<---->| TX Pin    |
|         |----->|           |----->| RX Pin    |
+---------+      +-----------+      +-----------+
10. Conclusion
UART communication on the ESP32 is flexible and efficient, supporting up to three UART channels and custom pin mapping. With both low-level ESP-IDF APIs and high-level Arduino support, developers can choose their preferred approach to achieve reliable serial communication in a variety of applications. For further expansion, developers can explore RS-485 over UART, UART with DMA, or integrating UART with FreeRTOS queues.
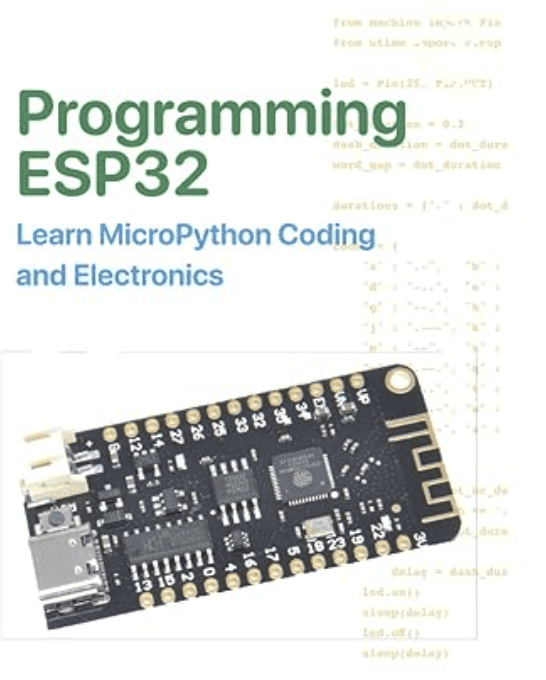
 This book offers a hands-on introduction to Python programming and basic electronics, making no assumptions about your prior experience. It begins with the fundamentals of Python, gradually guiding you through to more advanced concepts using a practical Morse Code project as your starting point.
Focusing primarily on the popular ESP32 Lite and ESP32 DevKit 1 boards, the book includes clear breadboard layouts and detailed instructions tailored for both. You’ll learn how to flash Python firmware onto your ESP32, set up and use the Thonny Python editor, and upload your programs with ease.
As you progress, you'll develop the skills to write structured Python code using functions and modules, work with powerful features like lists and dictionaries, and interface with sensors, LEDs, displays, and servomotors. Finally, you'll unlock the ESP32’s Wi-Fi capabilities, learning how to turn your board into a web server or connect it to online web services. More information...
 Loading... Please wait...
